Affiliate disclosure: This post contains affiliate links. If you purchase through these links, I may earn a small commission at no extra cost to you. See my full disclosure.
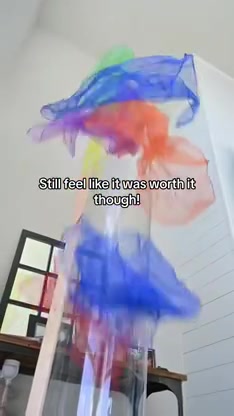
You know that wind tunnel at the children’s museum? The one where your kid stands there for 45 minutes straight dropping scarves into a tube while you sit on a bench and finally breathe? The one they scream about leaving?
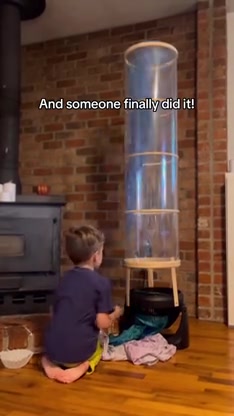
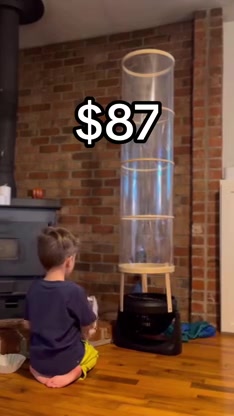
Yeah. We built one. In our living room. For $87.
This is one of those projects that sounds way harder than it actually is. It’s literally a fan pointing up with a clear plastic tube on top. That’s it. The “engineering” is just rolling a sheet of plastic into a cylinder and holding it together with embroidery hoops and tape. If you can wrap a present, you can build this.
And the payoff? My kids have played with this thing every single day since we built it. They drop in scarves, pom poms, paper airplanes, toy parachutes — basically anything lightweight. The wind sends it flying up through the tube and out the top. It’s mesmerizing for kids from babies to elementary age. Even my husband stands there dropping stuff in it. (If your kids love this kind of hands-on play, check out our indoor basketball hoop setup too.)
What Is a Wind Tunnel (Wind Tube) and Why Are Kids Obsessed?
If you have ever been to a children’s museum or a science center, you have probably seen a wind tube. It is a vertical clear tube with a fan at the base that pushes air upward. Kids drop lightweight objects in from the bottom or top and watch them float, spin, tumble, and fly.
The commercial versions (like the one from Kodo Kids) cost around $500. The actual science museum versions cost upward of $13,000. Ours cost $87 and works just as well for home use.
Kids love it because:
- It is endlessly open-ended — there is no “right” way to play with it
- Cause and effect is instant — drop something in, watch it react immediately
- It is STEM without feeling like a lesson — kids are learning about aerodynamics, air pressure, and gravity while just having fun
- It works for every age — babies love watching, toddlers love dropping scarves in, older kids start experimenting and building paper flyers
Complete Supply List (Everything You Need)
The total cost comes to around $87 depending on what you already have at home. Here is exactly what we used:

How to Build It (Step by Step)
This is a two-person job for about 30 minutes. One of you holds the plastic, the other tapes. Here is exactly what to do:
Step 1: Make the Tube
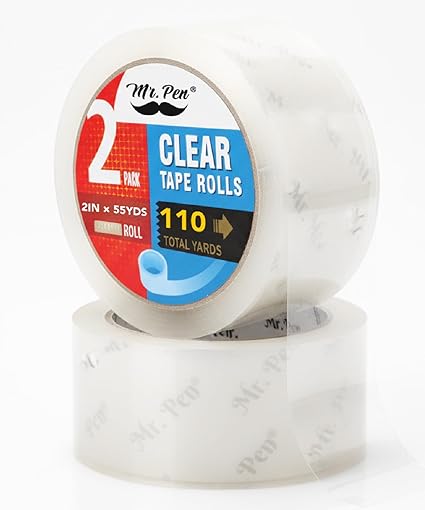
Unroll the acetate sheet and cut it to about 40-48 inches long (this is how tall your tube will be). Roll it into a cylinder — you want the diameter to match your embroidery hoops (about 12 inches around). Tape the seam with clear packing tape all the way down. Use a LOT of tape. This is not the time to be conservative.
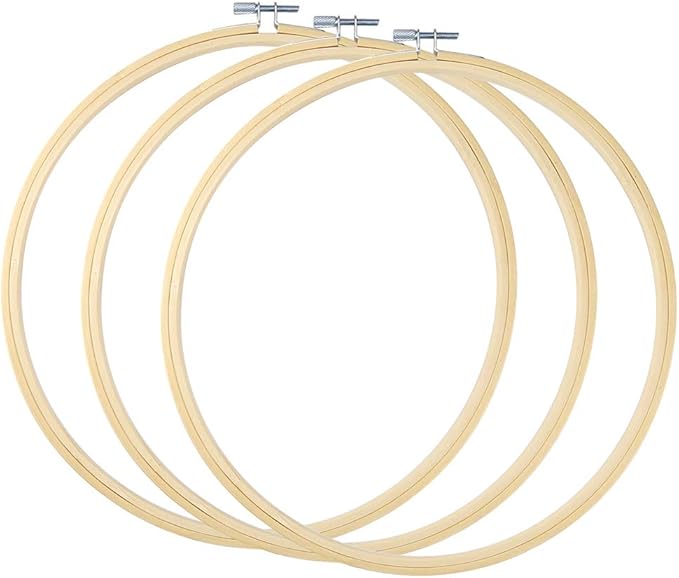
Step 2: Add the Embroidery Hoops
Separate each embroidery hoop into its inner and outer rings. Slide the inner ring inside the tube at the bottom, and clamp the outer ring over it so the plastic is sandwiched between. Tighten the screw. Do the same at the top. This gives the tube its rigidity and shape.
Step 3: Create Spacers
You need something to lift the tube off the fan so kids can reach in from the side to drop objects in. We used a small stool, but you can use Duplo towers, wooden blocks, large clothespins, or even a stack of books. You want about 6-8 inches of clearance between the fan and the bottom of the tube.
Step 4: Set It Up
Place the fan on the ground pointing straight up. Set your spacers around the fan. Place the tube on top of the spacers so it is centered over the fan. For younger kids, you might want to secure the tube to the spacers with tape or zip ties so it does not get knocked off.
Step 5: Launch Things
Turn on the fan, hand your kid a scarf, and prepare for pure joy. Start on the lowest speed and work up. Drop scarves, pom poms, tissue paper, feathers, crumpled paper balls — anything lightweight.
What Flies Best in a Wind Tunnel?
We have tested roughly 100 different objects at this point. Here is our ranking:
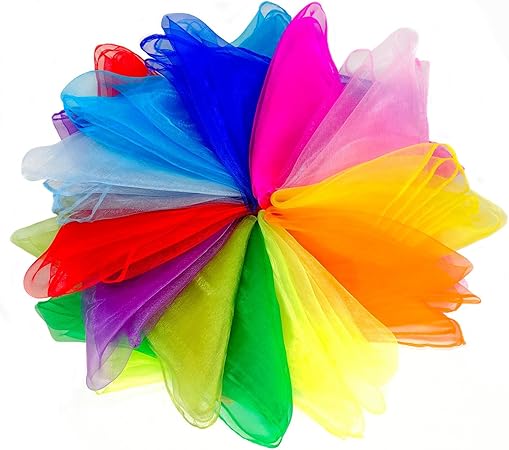
- Play silk scarves — the absolute best. They catch the air perfectly and float straight up and out the top. Beautiful to watch.
- Tissue paper — crumple it loosely or cut it into strips. Spirals up like confetti.
- Pom poms — small ones hover mid-tube which is SO cool. Big ones shoot out the top.
- Paper airplanes — fold tiny ones and watch them spin and tumble. Older kids love this.
- Feathers — float beautifully but be warned, they go everywhere.
- Toy parachutes — cut the figure off, just use the chute. It catches the air and dances.
- Ribbons — trail and flutter in the air stream. Mesmerizing.
- Plastic bags — cut into strips. They float eerily like jellyfish.
What does NOT work: anything heavy. Balls, toy cars, rocks (yes, my 3-year-old tried). If it does not float when you drop it from a height, it will not fly in the tube.
Is a DIY Wind Tunnel Safe for Toddlers?
Yes, with supervision. A few safety notes based on Inventors of Tomorrow’s extensive wind tube guide:
- Cover the fan opening with a mesh screen or tulle fabric so little fingers and small objects cannot reach the fan blades. This is the most important safety step for toddlers.
- Secure the tube to the base with zip ties or tape for kids under 5. They WILL knock it over otherwise. When it falls on someone, it is startling but not painful (it is just plastic).
- No small objects near the fan. Toddlers will try to shove coins, beans, and toy cars into the fan grill. Keep the area clear of small items, or add a mesh barrier.
- Tape the hoop edges. The metal clamp on the embroidery hoops can have sharp edges. Cover them with tape.
The Science Behind It (for the Curious Kids)
This is sneaky STEM at its finest. According to Little Bins for Little Hands, wind tunnels teach kids about:
- Aerodynamics — why some shapes fly and others do not
- Air pressure — how moving air creates lift
- The Bernoulli effect — fast-moving air creates lower pressure, which is why objects get “sucked” into the air stream
- Gravity vs. air resistance — heavy things fall, light things fly, and you can see the tug-of-war in real time
You do not have to explain any of this. Just let them play. They are absorbing it all through hands-on experimentation, which is how kids learn best. (Same reason sensory play with tapioca pearls is so valuable — the learning happens through the doing.)
FAQ
How much does it cost to build a DIY wind tunnel for kids?
About $87 total. The biggest expense is the fan (around $49). The acetate sheets, embroidery hoops, scarves, and tape add up to about $38. If you already have a strong floor fan, you can build the rest for under $40.
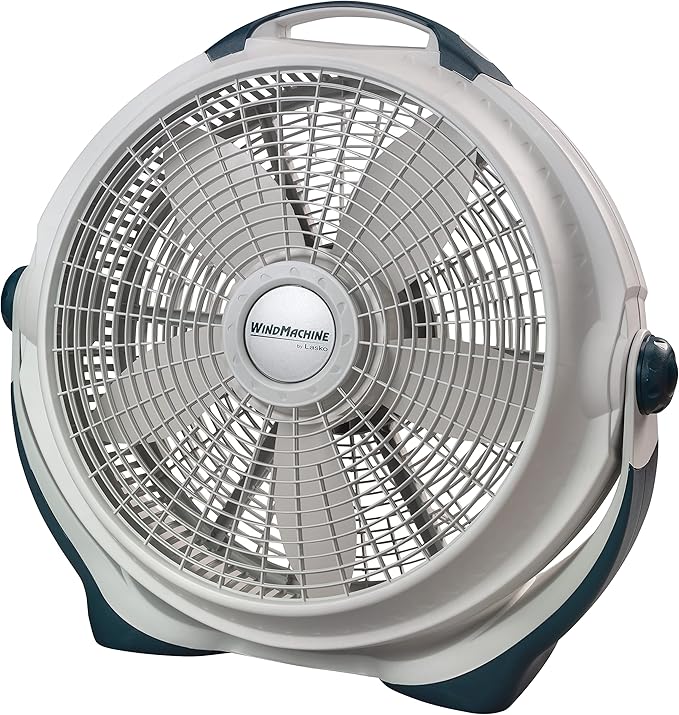
What kind of fan do you need for a wind tunnel?
You need a floor fan that blows upward, not a desk fan or tower fan. A 20-inch high-velocity floor fan like the Lasko Wind Machine works perfectly. It needs enough power to push lightweight objects up through a 3-4 foot tube.
What age is a wind tunnel good for?
Babies love watching the scarves fly (great visual stimulation). Toddlers can drop scarves in with supervision. Preschoolers start experimenting with different objects. Kids aged 5+ begin testing hypotheses and building things to fly. Even adults get hooked. It truly works for every age.
How tall should a DIY wind tunnel be?
Most home wind tunnels are 36 to 48 inches tall. Shorter tubes are easier for toddlers to reach into. Taller tubes give objects more flight time and look more dramatic. We went with about 40 inches and it works great.
Can you buy a pre-made wind tunnel for kids?
Yes — Kodo Kids sells a professional-grade one for about $500 (plus a $50 fan). Science museum versions run $13,000+. Our $87 DIY version does the same thing for home use.